Knit - Baby Snoopy
Pattern Overview
About the Pattern
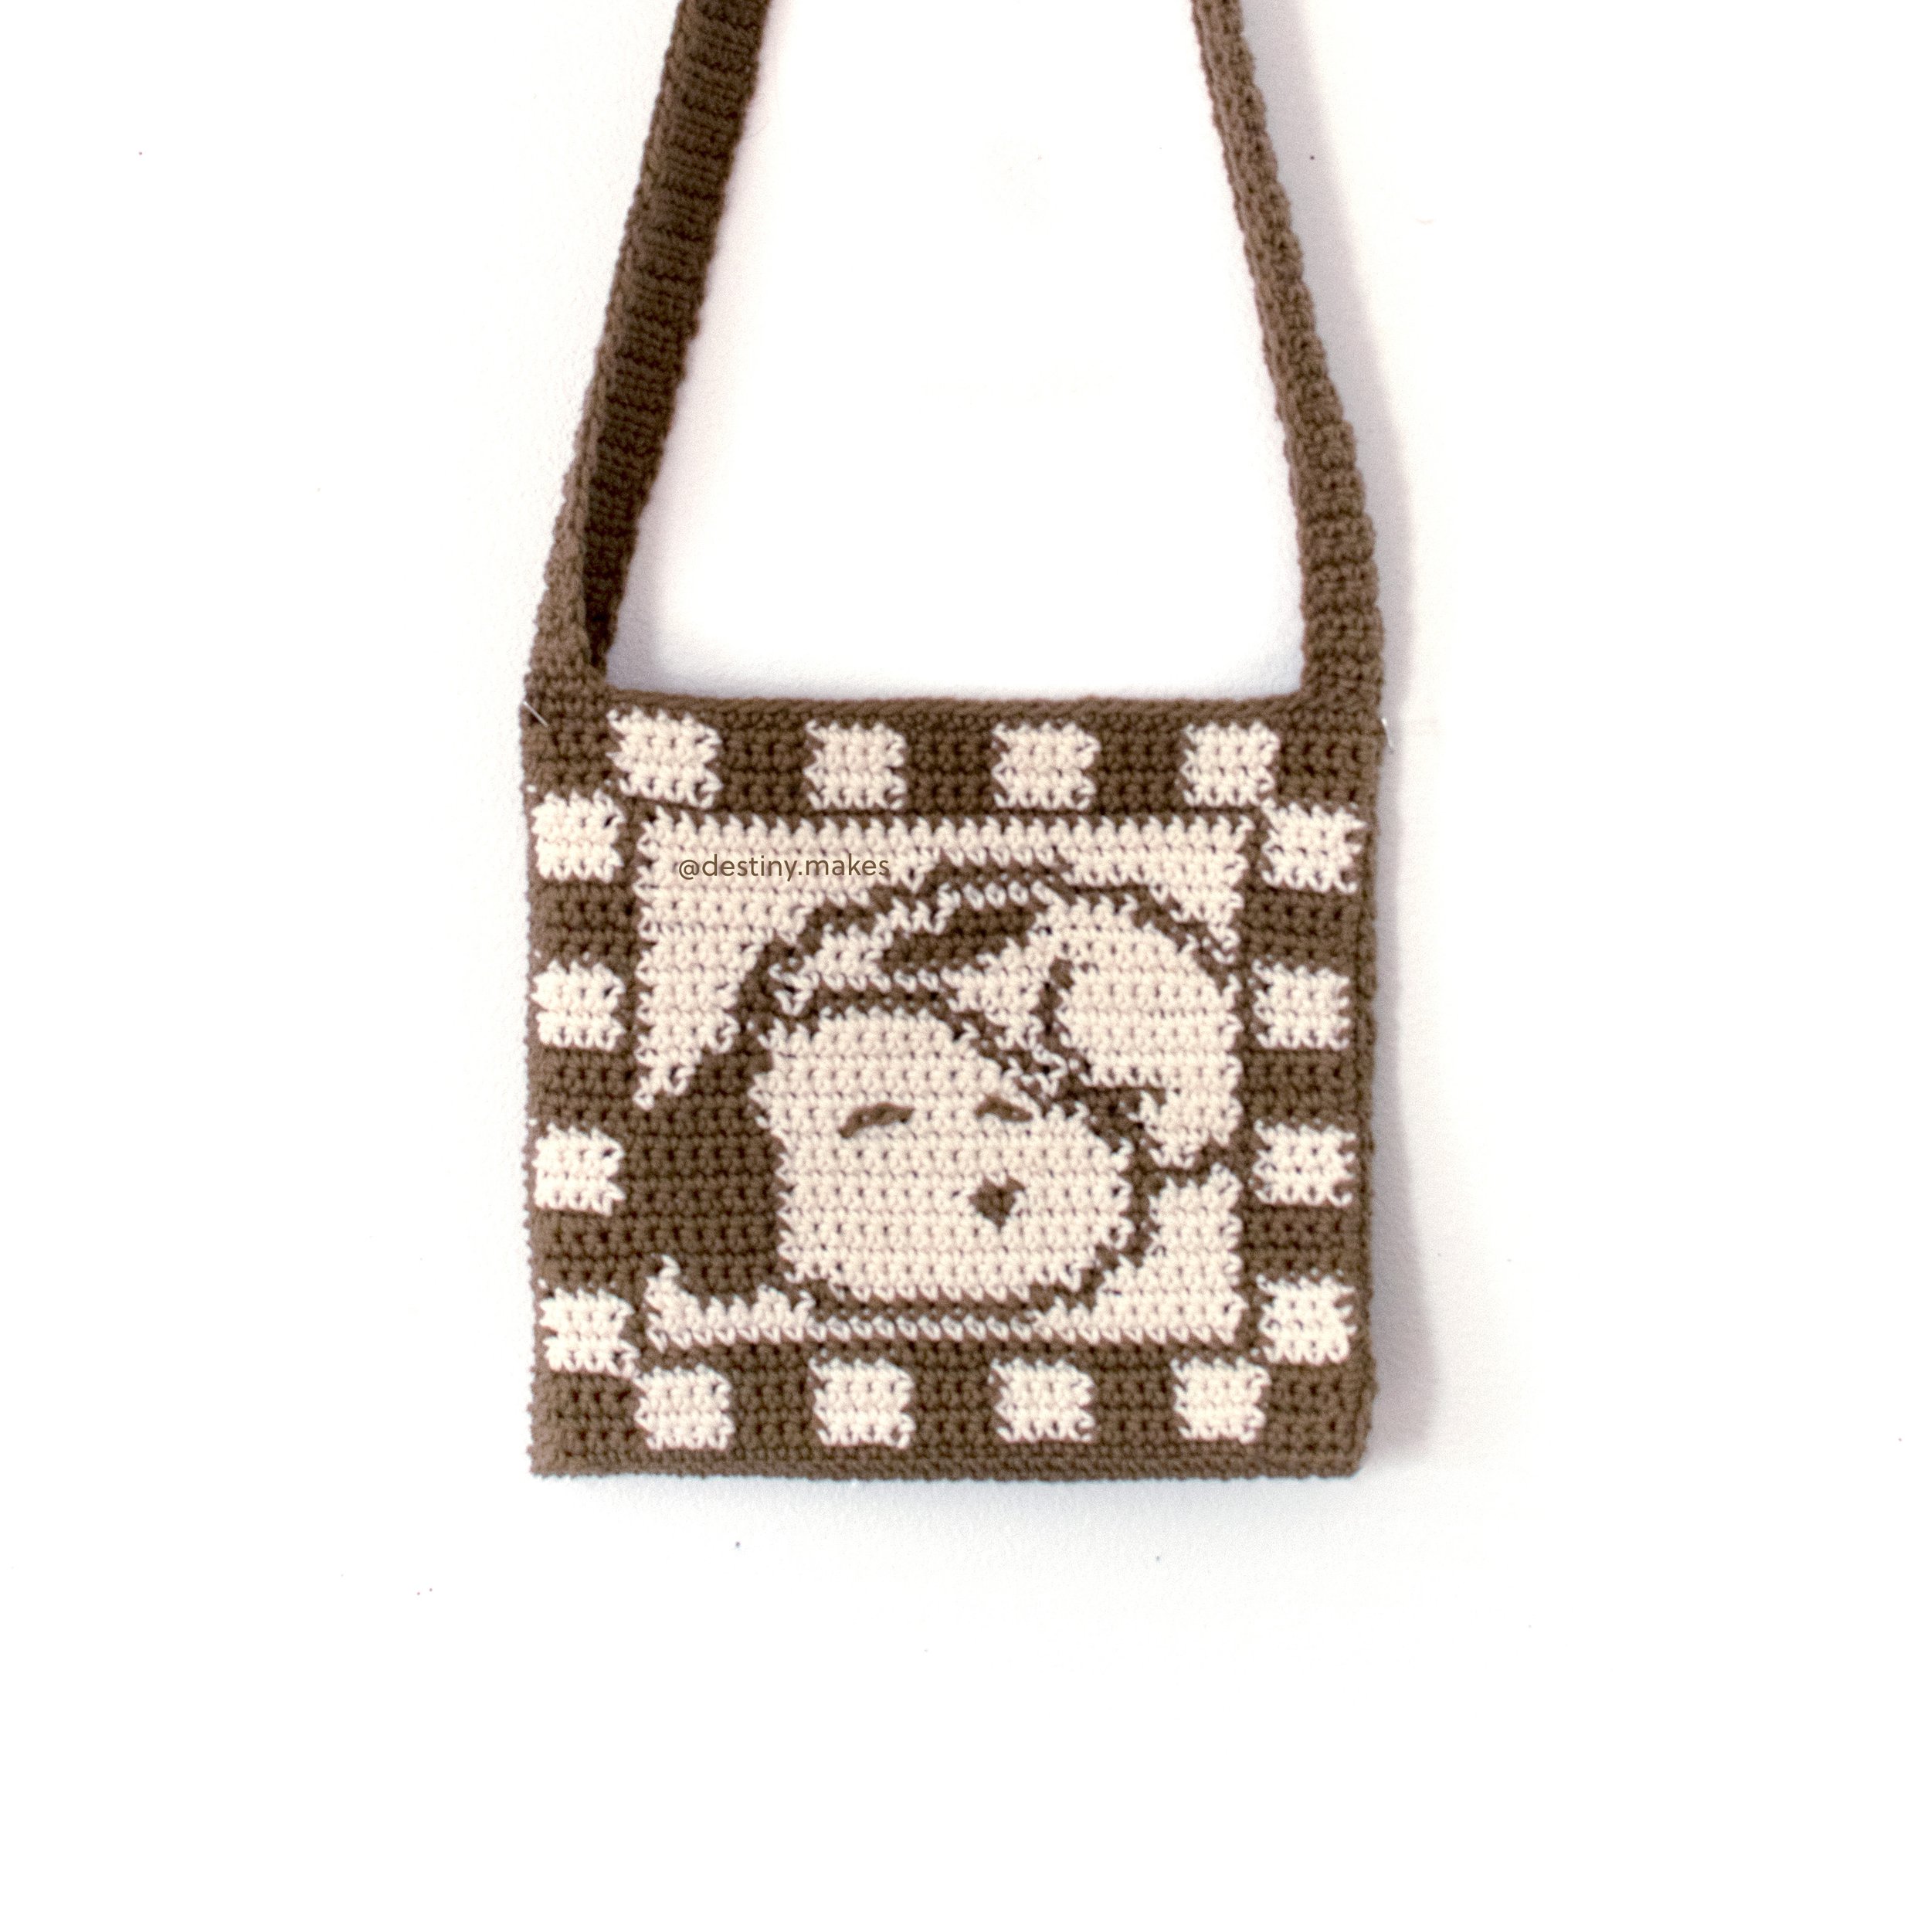
This pattern is based off of baby snoopy from Snoopy’s Reunion! You can make a bag or wallhanging or anything with this graph :-)
Below you’ll find two options for a pattern. The graph and one that is written out - I recommend utilizing both. Most people have used the double knitting to make this, but you can also use fair isle or intarsia. You’ll notice that the photos above are of a CROCHETED bag. I have not knit this myself - I just changed the graph to better match where knit stitches land upon request.
Details
Skill Level: Advanced Beginner
Graph Pattern
Cast on 38 to start! On the graph you’ll see that the eyes are not actual stitches. If you are familiar with crochet, you can add them using surface crochet. Here’s a tutorial I found on how to surface crochet. If not, I recommend utilizing embroidery!
Written Pattern
First, cast on 38 stitches.
Row 1 [RS]: B38
Row 2 [WS]: B5, W4, B4, W4, B4, W4, B4, W4, B5
Row 3 [RS]: B5, W4, B4, W4, B4, W4, B4, W4, B5
Row 4 [WS]: B5, W4, B4, W4, B4, W4, B4, W4, B5
Row 5 [RS]: B5, W4, B4, W4, B4, W4, B4, W4, B5
Row 6 [WS]: B1, W4, B28, W4, B1
Row 7 [RS]: B1, W4, B1, W26, B1, W4, B1
Row 8 [WS]: B1, W4, B1, W7, B10, W9, B1, W4, B1
Row 9 [RS]: B1, W4, B1, W7, B2, W10, B1, W1, B3, W2, B1, W4, B1
Row 10 [WS]: B6, W1, B5, W13, B1, W6, B6
Row 11 [RS]: B6, W5, B1, W14, B12
Row 12 [WS]: B12, W15, B1, W4, B6
Row 13 [RS]: B6, W4, B1, W5, B1, W9, B12
Row 14 [WS]: B1, W4, B7, W8, B2, W5, B1, W4, B1, W4, B1
Row 15 [RS]: B1, W4, B1, W1, B4, W15, B7, W4, B1
Row 16 [WS]: B1, W4, B7, W15, B1, W3, B2, W4, B1
Row 17 [RS]: B1, W4, B1, W5, B1, W14, B7, W4, B1
Row 18 [WS]: B11, W14, B1, W6, B6
Row 19 [RS]: B6, W4, B5, W12, B4, W1, B6
Row 20 [WS]: B6, W2, B3, W11, B1, W1, B1, W3, B1, W3, B6
Row 21 [RS]: B6, W7, B1, W2, B1, W10, B2, W3, B6
Row 22 [WS]: B1, W4, B1, W4, B1, W9, B1, W2, B1, W8, B1, W4, B1
Row 23 [RS]: B1, W4, B1, W8, B1, W3, B1, W6, B2, W5, B1, W4, B1
Row 24 [WS]: B1, W4, B1, W5, B1, W1, B6, W4, B1, W8, B1, W4, B1
Row 25 [RS]: B1, W4, B2, W6, B1, W12, B1, W5, B1, W4, B1
Row 26 [WS]: B6, W6, B1, W3, B5, W9, B1, W1, B6
Row 27 [RS]: B6, W2, B1, W6, B6, W3, B1, W7, B6
Row 28 [WS]: B6, W8, B2, W3, B4, W5, B1, W3, B6
Row 29 [RS]: B6, W4, B4, W6, B2, W10, B6
Row 30 [WS]: B1, W4, B1, W12, B6, W8, B1, W4, B1
Row 31 [RS]: B1, W4, B1, W26, B1, W4, B1
Row 32 [WS]: B1, W4, B1, W26, B1, W4, B1
Row 33 [RS]: B1, W4, B28, W4, B1
Row 34 [WS]: B5, W4, B4, W4, B4, W4, B4, W4, B5
Row 35 [RS]: B5, W4, B4, W4, B4, W4, B4, W4, B5
Row 36 [WS]: B5, W4, B4, W4, B4, W4, B4, W4, B5
Row 37 [RS]: B5, W4, B4, W4, B4, W4, B4, W4, B5
Row 38 [WS]: B38
Total: W777, B667
Adding the eyes
Refer to the graph above to surface crochet the eyes on. If you’re unfamiliar with surface crochet, reference this tutorial. You can also embroider or sew the eyes on.
Key:
B = Brown
W = White
WS = Wrong Side (The back side of your work)
RS = Right Side (The front side of your work


